Friday, April 14, 2017
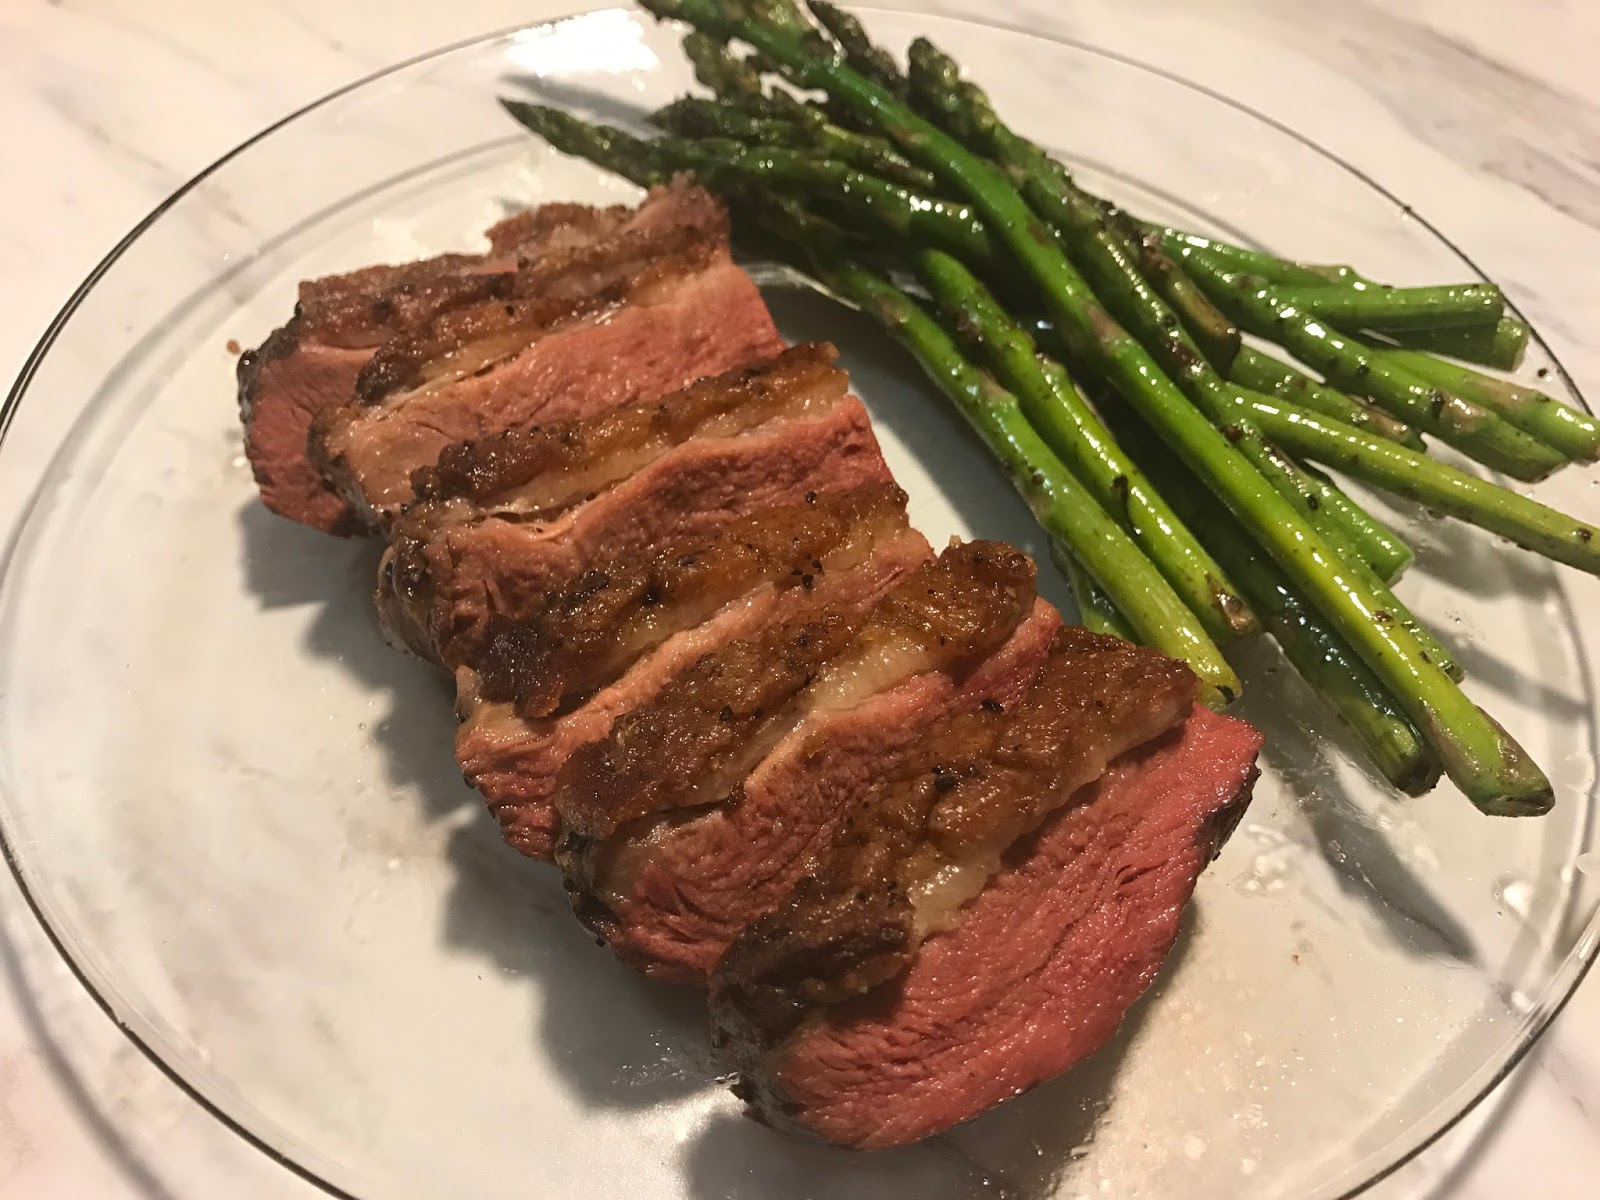
TChen makes.... Pan seared duck breast!!!
Tuesday, March 14, 2017
TChen makes..... Oil Poached Barramundi!!
Yesterday, I went shopping at my local food Coop and left with some goodies from the clearance bin. I got 2 cucumbers for 60 cents, a packet of fresh mint for 99 cents, a packet of fresh lemongrass for 99 cents, and a bottle of Honest Tea's mango lemonade. Last week, I purchased some beautiful frozen barramundi (kinda like an Asian sea bass that is apparently super sustainable and healthy) for only $3 per package!
Using all these cheap, yet fresh produce, I was able to construct a wonderfully delicious dish for 3. I used my sauce from Feeling Saucy #1 to help elevate the flavors of the dish and to give it a nice "Thai-inspired" twist.
Here is the ingredient list:
1. 3 small fillets of barramundi (remove the skin, but do not discard- these make for great skin "chips"!)
2. 3 stalks of scallions, finely sliced into thin strips (soak them in water to give them a nice crunch and to make them get a nice curled shape)
3. 1/2 cucumber cut into small cubes
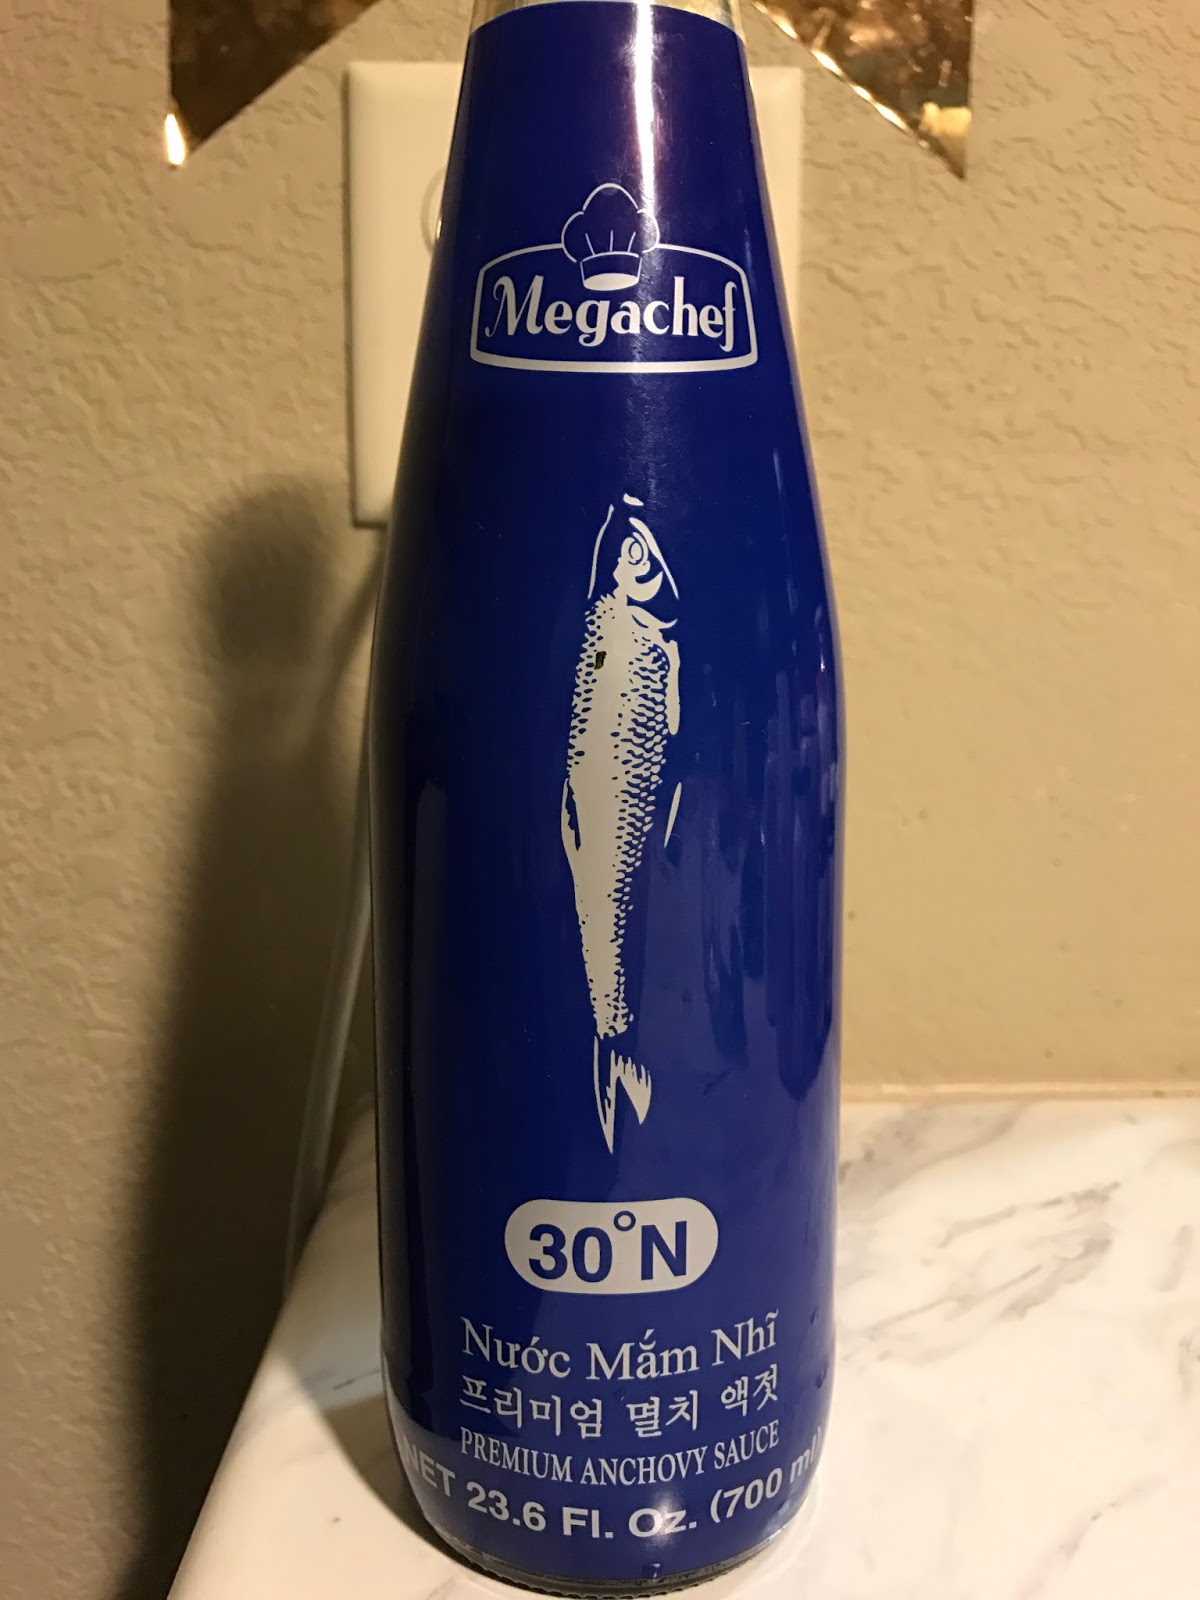
4. Thai fish sauce
5. Olive oil for poaching (don't use too good of stuff)
6. 1 stalk of lemongrass to put in olive oil
7. 3 cups of rice
8. 1/2 can of coconut milk
9. 1 bundle Asparagus
10. salt, sugar, vinegar for the cucumber pickle
The steps are really simple. Turn stove on to low heat, pour in olive oil and lemongrass. Gently set the fish in the oil and poach on low (or around 120-130 degrees) until the fish is no longer translucent. Use some of the oil to stir fry your asparagus. For the asparagus, add in fish oil and salt and pepper to taste. For the cucumbers, make a quick pickle by adding in salt, sugar, vinegar, and fish sauce. Let it sit here for at least 20 minutes. For the rice, wash and rinse like you usually do. Put in half the normal amount of water and then add in the coconut milk for the other half. Cook as you normally do. Once everything is ready, assemble the dish and add yesterday's sauce, cucumbers, and sliced scallions for garnish.
Here are some pics!
Monday, March 13, 2017
Feeling Saucy #1
Sunday, March 12, 2017
Feeling Inspired!!!
Friday, July 31, 2015
Friday, January 9, 2015
It's been a while
Ever since moving here, I've been struggling to adjust to the lifestyle, culture, weather, and lack of good food. In a way, I've become uninspired to blog, to go out, and to explore good foods.
Recently, I have become motivated again. I have started to cook again and am now much happier and more accepting of my life.
Stay on the look out for more recipes as I am going to start teaching the folks here in Rochester that good food does indeed exist.
Thanks for hanging in there with me!
Sunday, June 22, 2014
Noms on My Phone #13
TChen Makes Taiwanese Sweet Custard Brick Toast
Sorry for the long hiatus, but I am back and ready to start whippin' up some recipes!
We will be making the super delicious, extra fattening, Taiwanese Sweet Custard Brick Toast today!
This dessert holds a special place in my heart because I used to eat this all the time when I lived in LA. Every time I went to a boba/tea shop, I would always order at least one brick toast. Now that I no longer live in LA, I have these cravings for this sweet dessert every time I drink milk tea. Unfortunately, there are no tea shops where I live currently that serve this dish. So.... I decided to take matters into my own hands and try to make it myself!
Here is what you need:
- 1/3 cup of salted butter
- 1/3 cup of powdered milk
- 1/2 egg yolk
- 1/6 cup of powder sugar (I don't like my toast too sweet so I always cut down on sugar..... but feel free to up this to 1/3-1/4 cup of sugar if you like it to be sweeter)
- 2 slices of thick toast (I don't have a Chinese bakery near me to get the super thick toast, but I just settled for Rainbo brand Texas toast)
How to set it up:
- Preheat toaster oven to 350 degrees.
- Heat up your butter first so that it is slightly melted. This will help you mix everything together.
- Mix the butter, powdered milk, sugar, and egg yolk together using a spatula until it reaches a paste like consistency
- Score the top of your bread by taking a knife and lightly cutting the top vertically and then horizontally. You should get cuts that resemble a hashtag (#)
- Put the sweet custard paste onto the bread and make sure you cover the whole piece of bread, including corners.
- Place in oven and bake for 4-5 minutes until the corners look a little light brown.
- Turn to broil feature on oven and bake for additional 1 minute to get a nice caramelization on top.
- Let it cool so that custard will solidify.
- Serve!
Remarkably simple, yet irresistibly delicious!
Enjoy and good luck in the kitchen!
-
Tuesday, December 3, 2013
TChen Makes Thanksgiving... duck?!
Hey everyone! I hope y'all had a lovely Thanksgiving! Please share with me what you ate!
So my Thanksgiving was a bit... nontraditional. We did what we like to a call an "Asian Thanksgiving." I mean, after all, didn't the native Americans initially immigrate from Asia? (But actually, we were just too lazy to make a turkey/didn't have enough people to eat a turkey/ couldn't imagine eating turkey leftovers for the rest of the year.)
What did we make then? Well we had a Chinese hot pot and a Chinese roast duck! The hot pot used chicken broth as a base and we added lots of beef, shrimp, abalone, veggies, and noodles! The duck was prepared over 2 days, by the one and only, me.
![]() |
| sorry! so foggy! |
![]() |
| can you spot my phone? |
So sorry guys! My phone was a bit hazy for a few of the pics, but I hope you were able to get a good idea of what I made!
Now for the recipe... I didn't really follow a specific recipe, nor did I measure anything out. It was more like a squeeze of hoisin sauce here, a pinch of five spice powder there, and few oranges in the cavity, and bam! Sounds simple, right? Well it really was quite simple. However, there are two tricks. First, you should separate the skin from the meat using your fingers if you cannot inflate it with a air syringe pump. Next, you should hang and dry out your duck before you cook it. We dried out the skin for at least 24 hours so that the skin almost became paper thin. This is more of a trick for Peking duck, rather than roast duck, but I noticed that the skin wasn't so fatty in the end and was quite crispy! I figured, why not combine the best of these two recipes to make the ultimate duck!
And boy, was it an ultimate duck. It was juicy and had the slightest hint of oranges. Delicious.
Let me know if you really want a full recipe and I can see what I can do!
Sunday, November 24, 2013
Thanksgiving Break!
I will be taking a break from blogging this week!
Will be resuming right after Thanksgiving, with lots of turkey pics and recipes to share!! :)
Happy Holidays!
Saturday, November 23, 2013
Noms On My Phone #12
Who: Me and my friend Jeremy
What: Honey-garlic glazed chicken wing, crispy breast strips, honey lavender biscuit, and watermelon (or was it blood orange...) agua fresca
When: May 3rd, 2013
Where: Ludo Truck! You can find out where they are via their website (http://www.ludotruck.com/).
Why: Because I am addicted to fried chicken
How Much: Honey-garlic wings 2pc for $5.50; crispy breast strips 2pc for $5.50; honey lavender biscuit for $1.50. I forgot the price of the agua fresca (sorry!!)
Overall Verdict: I absolutely love the Ludo Truck. I wasn't able to take a picture of my favorite item on the menu (buttermilk chicken) because they were not serving it that day. However, these were still very very good- flavorful, juicy, and simply delicious. It is definitely a bit expensive, but I think it is worth it considering how flavorful everything is!
I give this 4.9 deep fried twinkies out of 5!!!
* minus 0.1 because this truck is always so darn hard to find!!!
Friday, November 22, 2013
Noms On My Phone #11
Let's see what we are going to have today!
Who: Me and my friend Jeremy!! (We are both Voltaggio groupies.. hehe)
What: Foie gras and waffle with toasted maple marshmallow and home made hot sauce (There is a bit of a foie gras trend on all my posts so far... I wonder why)
When: April 22nd, 2012
Where: Ink (Michael Voltaggio's restaurant: 8360 Melrose Ave #107, West Hollywood, CA)
Why: 1. Because I love MV. 2. Because I love foie gras 3. Because I LOVE MV AND FOIE GRAS TOGETHER!
Overall Verdict: Probably THE BEST dish at Ink. (RIP) Sadly, this will never be on the menu again since foie gras has been banned in California (those bastards... but good for the ducks I guess...). This dish was the epitome of flavorgasm. Yes, flavorgasm. You get sweet, spicy, salty, nutty, and tart paired with a variety of textures- crunchy, marshmallow-ey (fluffy, I guess?), buttery, and sauce-y. This was like a clever spin of the chicken and waffles concept, except with foie. Genius. The maple marshmallow and hot sauce went together so well. I loved this dish so much that I ordered another.... and then another... and then one more. I'm a fatty. Sorry about it.
Overall, I give this 200 fat ducks out of 200!!
Thursday, November 21, 2013
Noms On My Phone #10
Here you go!
![]() |
| look at that crispy, juicy goodness! |
What: One of my favorite dishes from the 10 course line-up: Deep fried quail with deviled egg puree, some sort of beans, beets, and nuts
Where: Wolvesmouth dinner by the genius chef, Craig Thornton
How Much: They do not charge by plate. Rather, the dinner's price is really up to you, the participant of the dinner. At the end of the meal, they give you an envelope to anonymously put in as much money as you would like!! With that being said, most people during my dinner seemed to put in somewhere between $80-100, which is reasonable for a very well made 10 course dinner (with all you can drink booze!).
Overall Verdict: For those who have never heard of Wolvesmouth or Craig Thornton, Wolvesmouth is a exclusive, invite-only, "underground" dining experience headed by Chef Craig Thornton. The location is either at his artsy loft or some other small apartment in the LA area. The invitations are pretty hard to get and you have to submit a request for one in order to get invited. Some critics even call Wolvesmouth "LA's toughest dinner reservation"- see http://www.losangeles.com/articles/wolvesmouth-las-toughest-dinner-reservation.html.
If you do get the chance to go to one of these, I advise you to come with an open mind and a bottle of wine. The whole dining experience is one of a kind and you truly meet very different and eccentric individuals from all over the place. My dining group was just a pleasure and everyone was so kind, friendly, and just happy to be there. I not only enjoyed my food, I definitely enjoyed my company as well.
Now on to the food. This quail. DAMN. SO. GOOD. I am a sucker for game meats, particularly quail. Plus, anything deep fried is a winner to me. This is like fried chicken's hot younger brother. The meat was so juicy, skin so crispy, and overall flavor so delicious! I don't know how I can ever go back to eating Popeyes or KFC after this fried quail. It seriously puts most fried chickens to shame. Not to mention, the pairing of the quail with the deviled egg and beets was genius. The puree, beets, and nuts toned down the gamey-ness of the meat and added a hint of sweetness to the dish.
Overall 50 flying turkeys out of 50!!!!
Just a warning: I will be posting the remaining 9 dishes from Wolvesmouth in a separate post! So keep an eye for that if you are interested in specific details from the full meal!
Wednesday, November 20, 2013
Noms On My Phone #9
![]() |
| ahh no such thing as too much uni! |
What: Uni and Sashimi Combination Dinner
When: February 12th, 2012- But let's be real... I basically ordered this once a month for 4 years.
Where: Sushi Gen (422 E 2nd St, Los Angeles, CA 90012)
Why: Because I love uni!!!!
How Much: $36
Overall Verdict: I love ordering this because I get my own whole box of uni plus around 6-7 pieces of tuna, red snapper, and yellow tail sashimi! The uni plate comes with some kani (crab), tamago (egg), some boiled squid, dried fish, and a scoop of negi-toro (fatty tuna scraps mixed with green onions).
For an uni lover like me, this is a great combo, although the price tag is a bit hefty. But, what can you expect? This is some pretty darn fresh uni and sashimi! Definitely perfect for a "treat yo'self" kind of day!
I give this 4.9999 Blue Whales out of 5!
*minus 0.0001 for the SUPER DUPER DUPER LONG LINES that are always present at Sushi Gen. Seriously. Over 2 hours just to get seated!
Tuesday, November 19, 2013
Noms On My Phone #8
Here we go!
Who: Me and my friend Chelsea!
What: Squid Ink Fettucini with Yellow Coconut Milk Curry, Salmon Roe, Wild California Sea Urchin
When: September 2nd, 2011
Where: Petrossian West Hollywood (321 North Robertson Boulevard, West Hollywood, CA 90048)
Why: Um... squid ink + salmon roe + uni! Who wouldn't want to try this match made in heaven? Plus, I wanted excited to hear that Giselle Wellman was the executive chef! Great to see a female executive chef in this predominantly male-dominant industry!
How Much: $26
Overall Verdict: Yummy yummy in my tummy. The coconut curry blended really well with the briny tang from the salmon roe and the sweetness of the uni. The flavors were well balanced and the squid ink fettucini, itself, was perfectly al dente. However, the portion size was a quite small and left me wanting more.
I would give this dish a 4.5 Octopi out of 5!
TChen eats... P de Q's!!
![]() |
| Bacon, bacon, bacon! |
![]() |
| Original Cheese |
![]() |
| Maple donuts |
TChen makes... Lobster Tails! (Quick Recipe)
Trying to impress that special someone, using as little culinary skills as possible?
Want to make this???
Well then, you are at the right place! Try out this incredibly simple, yet delicious lobster tail recipe that will be sure to impress!
What you need:
- 2 Lobbie tails!! Preferably 4-5oz. I find that in this case, bigger is not always better. hehe.
- Parsley (Either dried or fresh works)
- Olive oil
- Garlic Powder
- Salt and Pepper
- Half a Lemon
- Oven/broiler
Alrighty, because lobster tails are sweet and a tad salty in taste, there really is no need to over season them. You can go nuts on the olive oil, garlic powder, and parsley, though!
To prep these tails:
- Get them out of your fridge! That means that you have to previously thaw your lobs if you choose to buy them frozen.
- Clean them first to make sure that the shell isn't dirty. (I can be a bit of a clean freak... but hey, trying to be safe here)
- Get a super super sharp knife, or kitchen shears, and carefully cut down the center of the lobster tail shell. Be SUPER careful not to cut through the meat . If you do, that is A-OK, but the meat will look kinda sad and saggy later on- taste will still be good though.
- Once you cut the center of the tail, you need to use your fingers to do some sneaky work.
- Gently use your fingers to separate the meat from the shell (much like how you separate turkey skin from meat when you season it....). Just stick em in there and wiggle the meat separate from the shell. This will take some getting used to and could also result in a few minor scratches if you are not careful.
- Once this is done, gently try pulling out the meat (still attached at the fins) so that it exits the opening that you had previously cut and sits on top of the shell.
To season:
- drizzle with olive oil (you can use butter too... but I went the "healthy" alternative- basically, I had no butter present and only olive oil aka I'm just tryna function!)
- sprinkle with parsley
- sprinkle with garlic powder
- add a touch of salt and pepper to taste
To cook:
- Turn on your broiler and make sure it is hot before you put these in
- Also, make sure your lobster tails are not cold, but close to room temp before you cook.
- Stick these lobbies in the broiler for a good 5-7 minutes on high heat and then turn the oven off.
- Now let them sit in the residual heat for a remaining 1-2 minutes.
- Take them out and sprizzle with a little lemon juice to taste!
Ta dah! You should get beautiful lobster tails, fit for a king and queen!
Now here are some pics:
![]() |
| Needed an extra 1 min of cooking! |
![]() |
| Look at that profile! Would look better with a bit more browning on the sides |
![]() |
| Not the same lobster friend from pics above... but still turned out great! |
Monday, November 18, 2013
Noms On My Phone #7
Nothing like waking up to a medical school acceptance! Woohoo.
Alrighty, let us get started with number 7!
What: Pan seared Hawaiian ahi with grilled asparagus, mixed veggies, and rice!
When: August 19th, 2013
Where: The Galley Seafood Grill and Bar (899 Embarcadero, Morro Bay, CA 93442)
Why: We wanted a mini-vacay/escape from the summer heat. Morrow Bay was nice, overcast, and a bit chilly!
How much: A whoppin $26 for this entree.
Overall verdict: I really enjoyed the freshness of this fish and how the preparation of the ahi was a perfect medium rare. I often find that restaurants sear their fish for way too long, making the outer crust too tough and the inner meat not juicy enough. But this was not the case here! The fish was great! The sides were great! Presentation was great! Only thing that I was a bit iffy about was the price. Yes, the fish was fresh. However, I still think that the $26 price tag was a wee bit too high. But then again, I agree that this is quite the touristy spot and it makes sense why they would raise it high- if people are willing to pay, why not??
With that, I shall give this a 4.5 Tuna fish out of 5!
Now here are some pics from the trip!
![]() |
| so eerie |
![]() |
| gone fishin' |
![]() |
| where we ate! |